
![]()
POD Go 2.0 (released November 7, 2023) includes an all new Cab engine including 33 new cabs, 6 new amps, 7 new effects, improvements, and bug fixes and is recommended for all users of POD Go and POD Go Wireless. Here's a video if you're in a hurry.
How do I update to 2.0?
- Connect POD Go/POD Go Wireless to your computer and launch POD Go Edit. The software will walk you through the entire procedure, including backing everything up to your computer, updating POD Go Edit, and updating the firmware.
If you run into trouble, read this KB article:
I updated but why don't I see [Model X]?
POD Go Edit can't magically see new models added to your POD Go hardware; you MUST update POD Go Edit to 2.0 as well. Here's a link:
- macOS: https://line6.com/software/readeula.html?rid=12373
- Windows: https://line6.com/software/readeula.html?rid=12374
My POD Go is at version 1.XX. Can I go straight to 2.0?
Yes.
Anything else I should know?
Yes. We STRONGLY recommend performing a factory reset AFTER UPDATING your POD Go firmware to 2.0 and THEN RESTORING YOUR BACKUP. (Backing up is part of the update process). Here's how to perform a factory reset. IMPORTANT: MAKE SURE YOU HAVE A BACKUP FIRST, AS A FACTORY RESET WILL ERASE ALL YOUR WORK!
- While holding footswitches C and D, turn on POD Go/POD Go Wireless.
New Cab Engine/New Cabs in 2.0
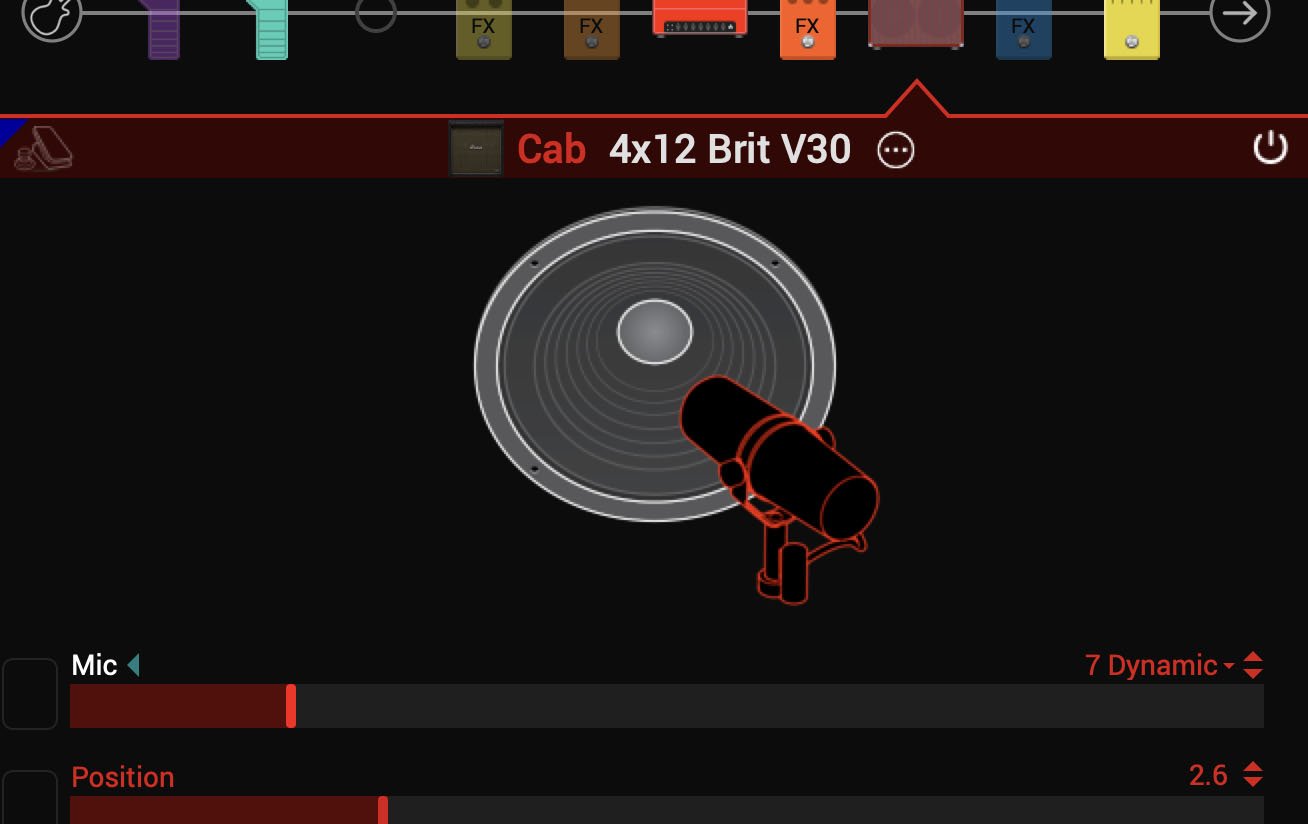
Thousands of impulses were captured with Sound Design's IR capture system and consolidated into 26 guitar cabs and 7 bass cabs. As such, cab block subcategories have been updated.
- From Edit mode, turn the Upper Knob to select the Cab block.
-
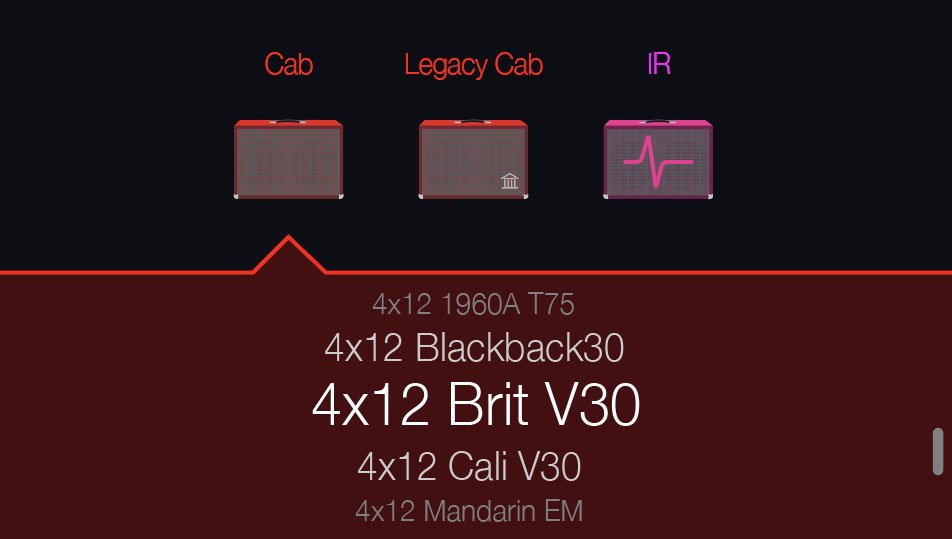
Press the Lower Knob to open the Model List. Three subcategories appear:
- Cab—Cabs using the new improved cab engine
- Legacy Cab—Cabs using the earlier Hybrid cab engine. Legacy cabs remain in POD Go so your existing presets won't be affected. Legacy cab blocks now show a small Legacy icon in the corner
- IR—Impulse Responses loaded via POD Go Edit
New Guitar Cabs
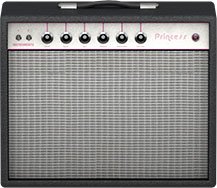
Cab > 1x10 US Princess, captured from* the 1x10" Fender Princeton Eminence Copperhead
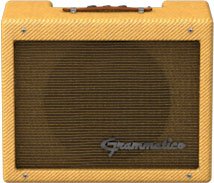
Cab > 1x12 Grammatico, captured from* the 1x12" Grammatico LaGrange P12Q
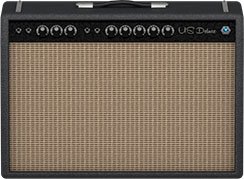
Cab > 1x12 US Deluxe, captured from* the 1×12″ Fender® Deluxe Oxford
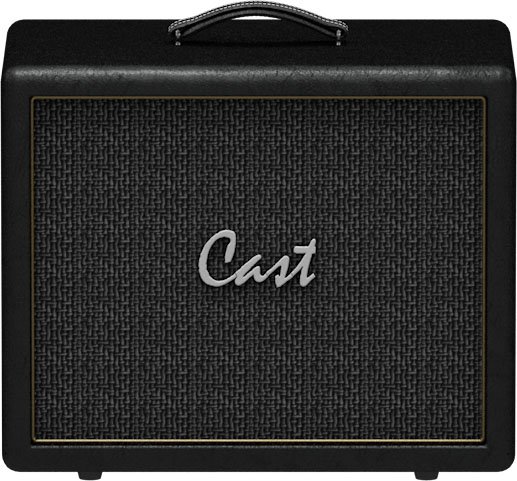
Cab > 1x12 Open Cast, captured from* a custom 1x12" open back cabinet EVM12L
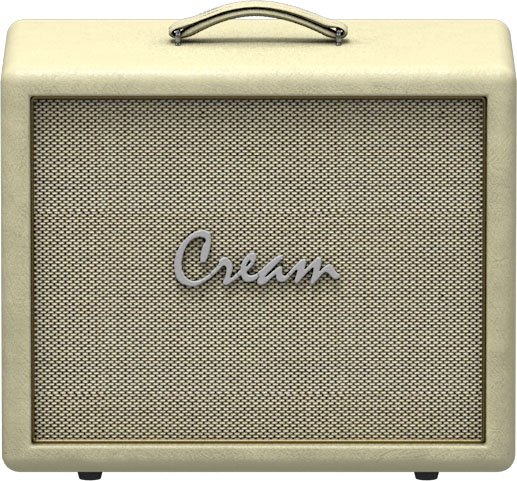
Cab > 1x12 Open Cream, captured from* a custom 1x12" open back cabinet G12M-65
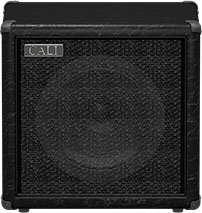
Cab > 1x12 Cali EXT, captured from* the 1x12" Mesa Boogie Extension Cab
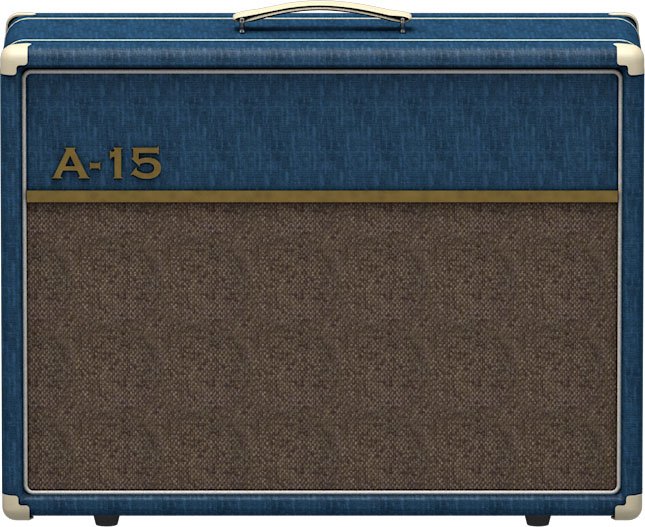
Cab > 1x12 Blue Bell, captured from* the 1×12″ Vox® AC-15 Blue Alnico
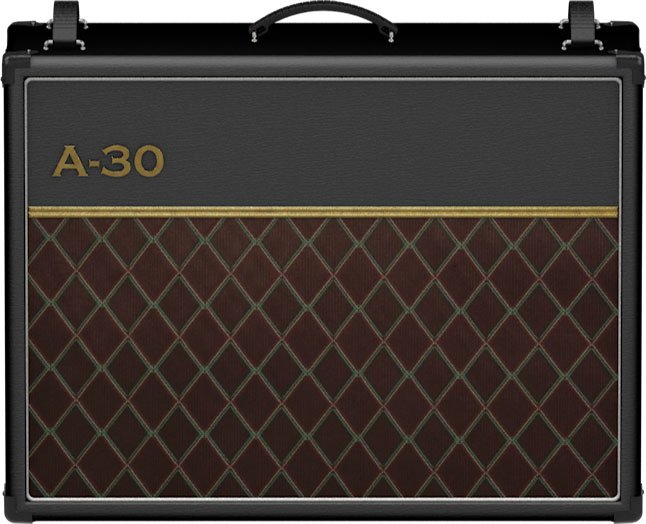
Cab > 2x12 Blue Bell, captured from* the 2×12″ Vox® AC-30 Fawn Blue
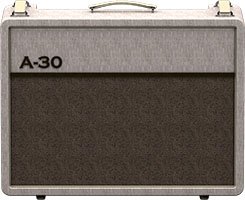
Cab > 2x12 Silver Bell, captured from* the 2×12″ Vox® AC-30TB Silver Alnico
Cab > 2x12 Match H30, captured from* the 2x12" Matchless® DC-30 custom G12H-30
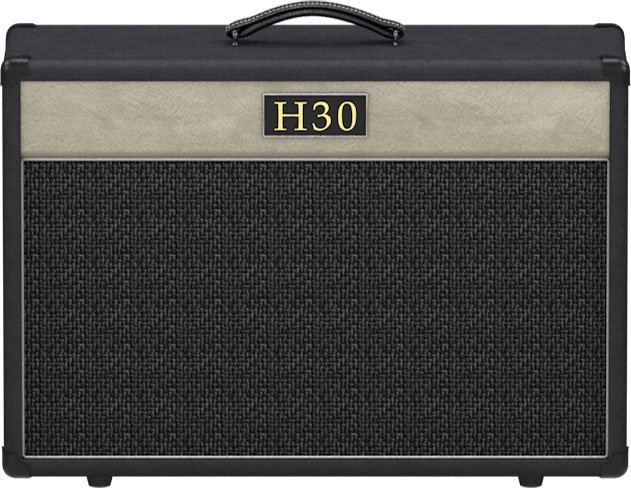
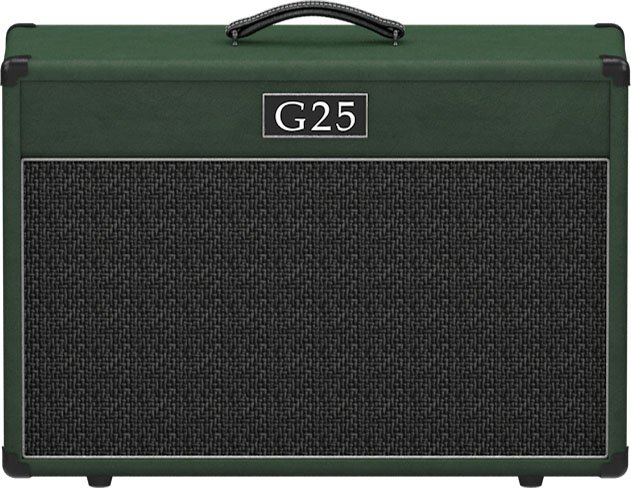
Cab > 2x12 Match G25, captured from* the 2x12" Matchless® DC-30 custom G12M-25
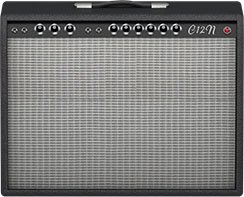
Cab > 2x12 Double C12N, captured from* the 2×12″ Fender Twin C12N
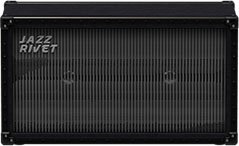
Cab > 2x12 Jazz Rivet, captured from* the 2×12″ Roland® JC-120
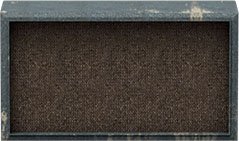
Cab > 2x12 Mail C12Q, captured from* the 2×12″ Silvertone® 1484
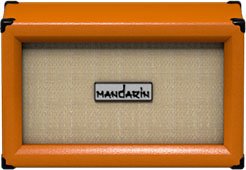
Cab > 2x12 Mandarin 30, captured from* the 2x12" Orange PPC212 V30
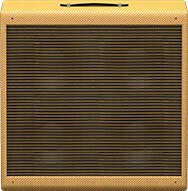
Cab > 4x10 Tweed P10R, captured from* the 4×10″ Fender Bassman® P10R
Cab > 4x12 Greenback 20, captured from* the 4×12″ Marshall® Basketweave G12M-20
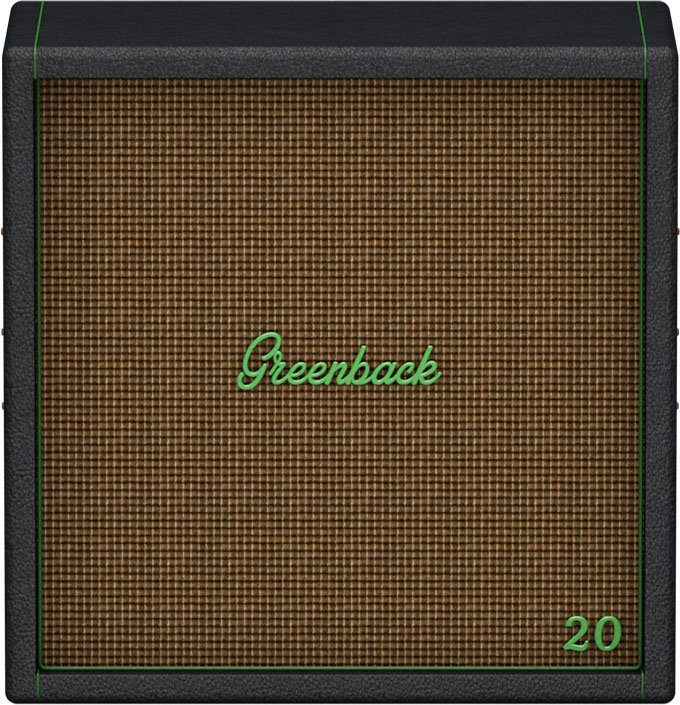
Cab > 4x12 Greenback25, captured from* the 4×12″ Marshall® Basketweave G12 M25
Cab > 4x12 1960A T75, captured from* the 4×12″ Marshall 1960A T75
Cab > 4x12 Blackback 30, captured from* the 4×12″ Park® 75 G12 H30
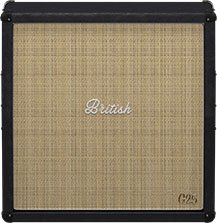
Cab > 4x12 Brit V30, captured from* the 4×12″ Marshall® 1960AV V30
Cab > 4x12 Cali V30, captured from* the 4×12″ MESA/Boogie® 4FB V30

Cab > 4x12 Mandarin EM, captured from* the 4×12″ Orange Eminence
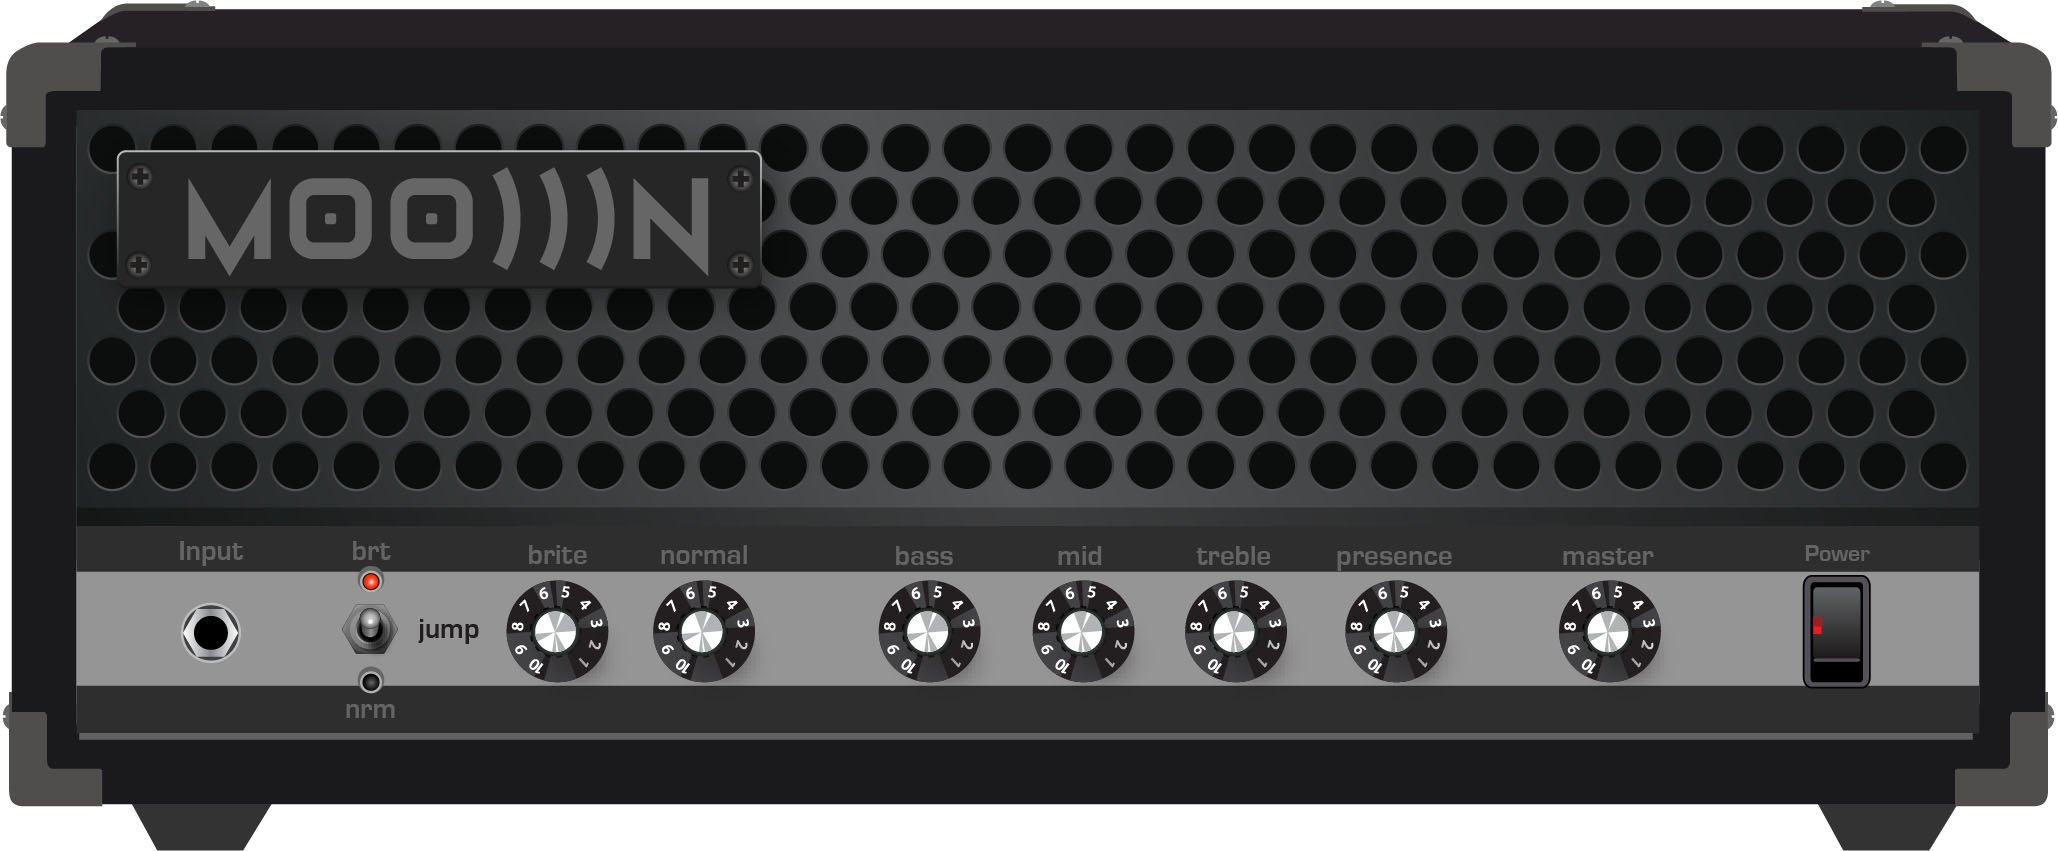
Cab > 4x12 MOO)))N T75, captured from* the 4x12" Sunn Cab w/G75T
Cab > 4x12 Uber T75, captured from* the 4×12″ Bogner® Uberkab T75
Cab > 4x12 Uber V30, captured from* the 4×12″ Bogner Uberkab V30
Cab > 4x12 XXL V30, captured from* the 4×12″ ENGL® XXL V30

-
Mic—Select from up to 12 mics:
- 57 Dynamic—Shure® SM57
- 421 Dynamic—Sennheiser® MD 421-U
- 7 Dynamic—Shure SM7
- 906 Dynamic—Sennheiser e906
- 30 Dynamic—Heil Sound® PR 30
- 121 Ribbon—Royer® R-121
- 160 Ribbon—Beyerdynamic® M 160
- 4038 Ribbon—Coles 4038
- 84 Ribbon—AEA R84
- 414 Cond—AKG® C414 XLS
- 47 Cond FET—Neumann® U47 FET
- 67 Cond—Neumann U67
- Position—Sets the lateral location of the mic in relation to the speaker cone. Choose from Center ~ Cap Edge ~ Edge. Cap Edge may appear in a different location depending on the selected cab
- Distance—Sets the distance of the mic from the speaker cone. Choose from 1.00" to 12.00" in 1/4" increments
- Angle—Sets the angle of the mic. 0 degrees is pointing directly at the speaker, 45 degrees is pointing off-axis
- Low Cut—Applies a low cut (high pass) filter, letting you remove all audio below a certain frequency. May be useful in removing undesirable low end rumble
- High Cut—Applies a high cut (low pass) filter, letting you remove all audio above a certain frequency. May be useful in removing high end harshness
- Level—Sets the overall level of the cab
New Bass Cabs
Cab > 1x12 Epicenter, captured from* the 1x12" Epifani® Ultralight series cabinet

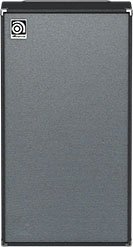
Cab > 1x15 Ampeg B-15, captured from* the 1×15″ Ampeg® B-15
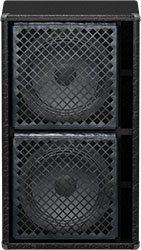
Cab > 2×15 Brute, captured from* the 2×15″ MESA/Boogie® 2×15 EV
Cab > 4×10 Garden, captured from* the 4x10" Eden D410XLT
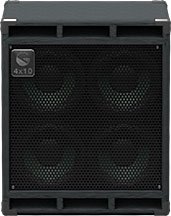
Cab > 4x10 Ampeg Pro, captured from* the 4x10" Ampeg® PR-410HLF

Cab > 8x10 SVT AV, captured from* the 8×10″ Ampeg® SVT® (SVT-810AV Heritage Edition)
-
Mic—Select from up to 12 mics:
- 57 Dynamic—Shure SM57
- 421 Dynamic—Sennheiser MD 421-U
- 7 Dynamic—Shure SM7
- 88 Dynamic—Beyerdynamic M88TG
- 52 Dynamic—Shure Beta 52A
- 112 Dynamic—AKG D112
- D6 Dynamic—Audix D6
- 40 Dynamic—Heil Sound PR 40
- 4038 Ribbon—Coles 4038
- 414 Cond—AKG C414 TLII
- 47 Cond FET—Neumann U47 FET
- 67 Cond—Neumann U67
- All other parameters the same as for guitar cabs (see above)
New Amps in 2.0
New Guitar Amps
Amp/Preamp > Grammatico GSG, based on* the Grammatico GSG100.
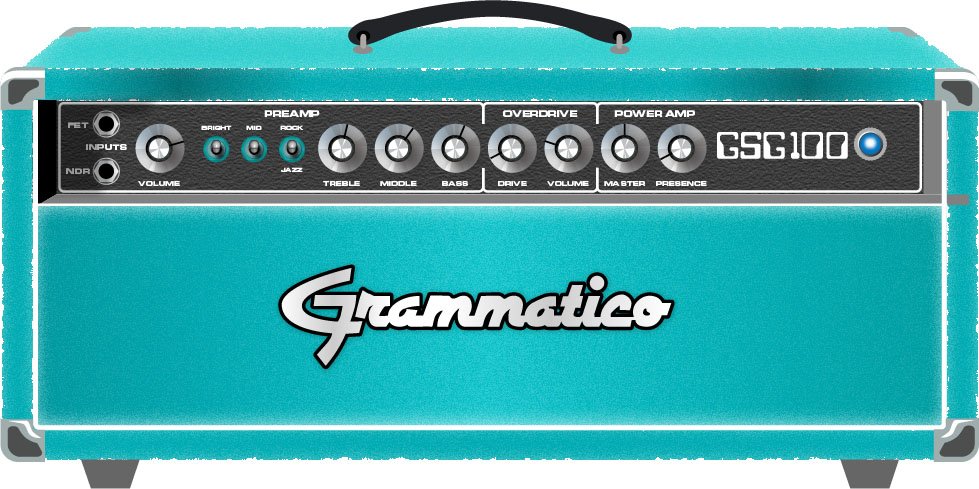
"The Grammatico GSG100 is an amp based on the study of legendary amps made around 1980. This model aims to capture all the unique details of this amplifier circuit, many of which are quite different than popular guitar amps from the major companies. The GSG100 is a feature-rich and complicated amp. There are many amazing sounds in the amp; however, the controls allow for such a wide range of adjustment that it's possible to get unpleasant sounds from it as well. To best use the amp, it really helps to know exactly what each of these features is doing to the guitar signal. Let's go through the parameters as they are found in the POD Go model:"
—Ben Adrian, Sound Design Manager
- Drive—This is the first volume control on the amp. It's called "drive" on the model to fit the pattern of all the POD Go models. On the real amp is says "Volume."
- Bass, Mid, Treble—The normal tone controls on the amp (called a tone stack by amp nerds), located between the first and second gain stages in the preamp. These have different ranges than traditional guitar amp tone controls. Also, the whole voicing of the tone stack can be changed with the "Rock/Jazz" switch, which will be explained later.
- Presence—This is like the presence controls on other guitar amps. It changes the amount of high frequency in the power amp by modifying the EQ filtering in the power amp's negative feedback loop.
- Ch Vol—This controls the output level of the amp model. It has no effect on the tone or distortion of the amp model
- Master—This is the master volume on the front panel of the amp. It is located between the preamp and power amp and can be used to get more or less power amp distortion. This amp is VERY loud, and most players would probably run the master volume on the lower side. If the master volume is cranked, the power amp distortion can be pushed into unpleasant territory. Most players would never crank the master in real life as the actual output would be way too loud for most musical settings.
- Mid Switch—This switch changes the value of the treble capacitor in the tone stack. When it is off, the amp has more of a scooped sound. When it is on, there is a noticeable upper-mid boost.
- Jazz/Rock—This switch changes the wiring of the tone stack circuit. It allows for two totally separate tonal voices. Jazz is quieter with a lower center frequency for the mids. Rock is louder with a more traditional mid frequency center. Tone controls rarely translate well between the Jazz and Rock settings. If a good sound is achieved in one mode, it is not guaranteed that the same settings in the opposite mode will still sound pleasing.
- OD Switch—This turns the two-gain-stage tube overdrive circuit on and off. This circuit is located AFTER the tone controls and Drive knob. When the overdrive is turned on it's as if a third and fourth gain stage is added to the preamp. Generally, it's best to set up the base tone of the amp with the Drive and tone controls first, and then adjust the overdrive circuit to work with the desired base tone.
- OD Drive—This controls the amount of drive or saturation in the overdrive circuit. Since the whole overdrive circuit is after the amp's regular drive and tone controls, the range of OD Drive knob will change based on those earlier knob settings.
- OD Level—This controls the output level of the overdrive circuit.
- Bright—This is a three position switch. The settings are "off" and two different values of bright capacitor. This bright capacitor works with the Drive (volume) knob earlier in the circuit, and is similar to other amps that have bright switches. When the Bright switch is engaged, the effect is more pronounced with lower Drive settings. The bright becomes less effective at higher Drive settings. When the Drive is at 10, the switch is effectively removed from the amp circuit, and changing the switch settings has no audible effect.
- FET Boost—The GSG100 has a solid state, FET (Field Effect Transistor) boost circuit at the very beginning of the amp circuit. It is akin to placing a FET Boost pedal before the amp. On the physical unit there are two input jacks, but on the model it is placed on a switch and can even be made foot-switchable. The FET Boost has a fixed boost amount of about 7 to 9 dB and also gives a slight EQ change.
- PAB—This stands for "Preamp Boost." The PAB works by removing the tone controls from the circuit. Tone controls work by removing frequencies and signal level. Engaging the PAB circuit returns all of this lost signal level, but the side effect is that tone controls no longer work. It truth, the treble knob does work slightly, and the mid switch will change how much lows and mids comes through the circuit. In general, though, the PAB trades tone control functionality for a full blast level between tube gain stages 1 and 2.
- Sag—This is a control that is added to all the POD Go models. Every tube amp has some amount of power supply sag, which feels like compression, squish, and sustain to the player. This control makes the sag amount user-adjustable.
- Hum—This is a control that is added to most of the POD Go models. Preamp tube heaters in tube amps will leak a little bit of 60 cycle hum into the audio signal. When this hum mixes with the distorted audio signal, a non-musical distortion is created at low levels. To some players, this low-level, non-harmonic distortion adds a bit of realism to the amp model. The best way to put it is that sometimes the model sounds more "wrong" without the hum. However, if you don't like it, you can just turn it down.
- Ripple—This is a control that is added to most of the POD Go models. Power amp circuits will sometimes let a little bit of rectified 120Hz hum (that the power supply filter caps can't quite fully remove) into the audio signal. When the power supply is being pushed hard, more of this ripple can get through the audio path. Much like the hum, this provides a bit of non-musical distortion to the power amp at distorted settings. To some people, this sounds like harmonic complexity that is enjoyable and realistic. Other players just don't like it and turn it off.
- Bias—This control is in most POD Go models. It adjusts the bias of the tubes in the power amp, causing a change in tonality and the distortion characteristic.
- Bias X—This is the most difficult parameter to describe in POD Go models, so hang on. All tube amps need to bias the power amp tubes. This is usually achieved by applying a negative voltage to the input audio signal. (Cathode bias works differently, but that's a story for a different time.) However, when the power tubes are distorting, free electrons can form around the input grid and cause a shift in the bias voltage. This shift only happens during the moments when distortion is occurring. This shift causes a tonal and texture change much like adjusting the bias control. However, once the tubes leave the distorted state, the free electrons dissipate and the bias returns to normal. Another way to put it (less accurately) is that this is a level/envelope controlled bias shift. This behavior is modeled in all POD Go amps, and the Bias X control allows users to control the amount of bias shift that is happening. It is a very subtle change, so please don't expect high drama from this knob.
Amp/Preamp > MOO)))N T Nrm, based on* the normal channel of the Sunn Model T.
"The Moon model is based on a 1974, silver knob Sunn Model T amplifier. This is the early version with the more traditional tone stack. Though it has been repaired over the years, the circuit has every component at stock value. This specific unit has been well used, well maintained, and regularly enveloped in fog.
"This amp circuit can best be described as a Fender Tweed Bassman/Marshall JTM45 preamp mated with a very high volume, very flat, ultralinear power amp that uses 6550 tubes. The result of this configuration is a tone with a raw growl that really has a strong punch to the gut. In addition, this configuration takes pedals very well; adding a distortion or booster can turn the amp into a high gain, doom machine."
—Ben Adrian, Sound Design Manager

Amp/Preamp > MOO)))N T Brt, based on* the bright channel of the Sunn Model T
Amp/Preamp > MOO)))N T Jump, based on* the normal and bright channels jumped in the Sunn Model T

Amp/Preamp > Line 6 Elmsley, Line 6 Original
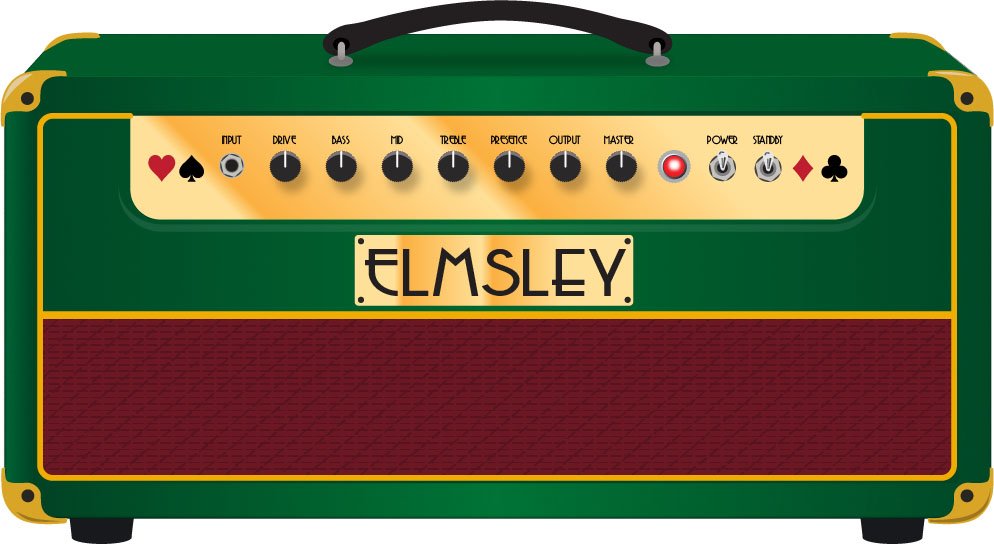
"The Line 6 Elmsley is a new Line 6 original amplifier that employs a parallel distortion topology that layers distinct saturation characteristics across the lower and upper registers. The Elmsley features a smooth and present bottom end with some exceptional sparkle and definition all through the midrange and above. The result is an amplifier that is dazzling across the full spectrum, and the amplifier deals with pedals in spades.
"The other new key feature of The Elmsley's power amp section is the Negative Feedback (NFB) parameter, where the amount of feedback within the power section's response can be dialed anywhere from wild and unhinged, tight and punchy, and anything in between. As with many amplifier designs, the presence and depth controls are part of this negative feedback circuit and functions to control the brilliance and resonance of the power amp, respectively. As the NFB param is reduced, the presence and depth controls' influences are also influenced, and they become effectively deactivated when the NFB knob is at zero. These interactions allow the player to create countless tonal variations to suit their needs.”
—Sam Hwang, Sound Designer
New Bass Amp
Amp/Preamp > Agua Sledge, based on* the Aguilar Tone Hammer

New Effects in 2.0
Distortion > Pillars OD, based on* the Earthquaker Devices Plumes distortion
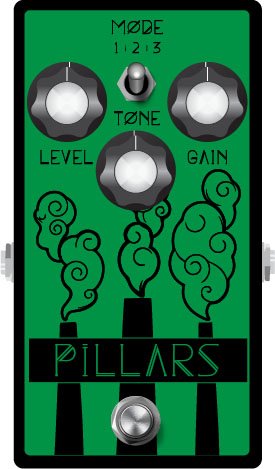
- Gain—Sets the amount of distortion
- Tone—Sets the overall tonal balance of the distortion
- Level—Sets the overall level of the block
- Mode—Chooses the type of clipping circuit—1 is LED, 2 is Clean Opamp, 3 is Asymmetrical
Distortion > Dark Dove Fuzz, based on* the Electro-Harmonix® Russian Big Muff

- Sustain—Sets the amount of distortion
- Tone—Sets the overall tonal balance of the distortion
- Level—Sets the overall level of the block
Modulation > FlexoVibe, Line 6 Original
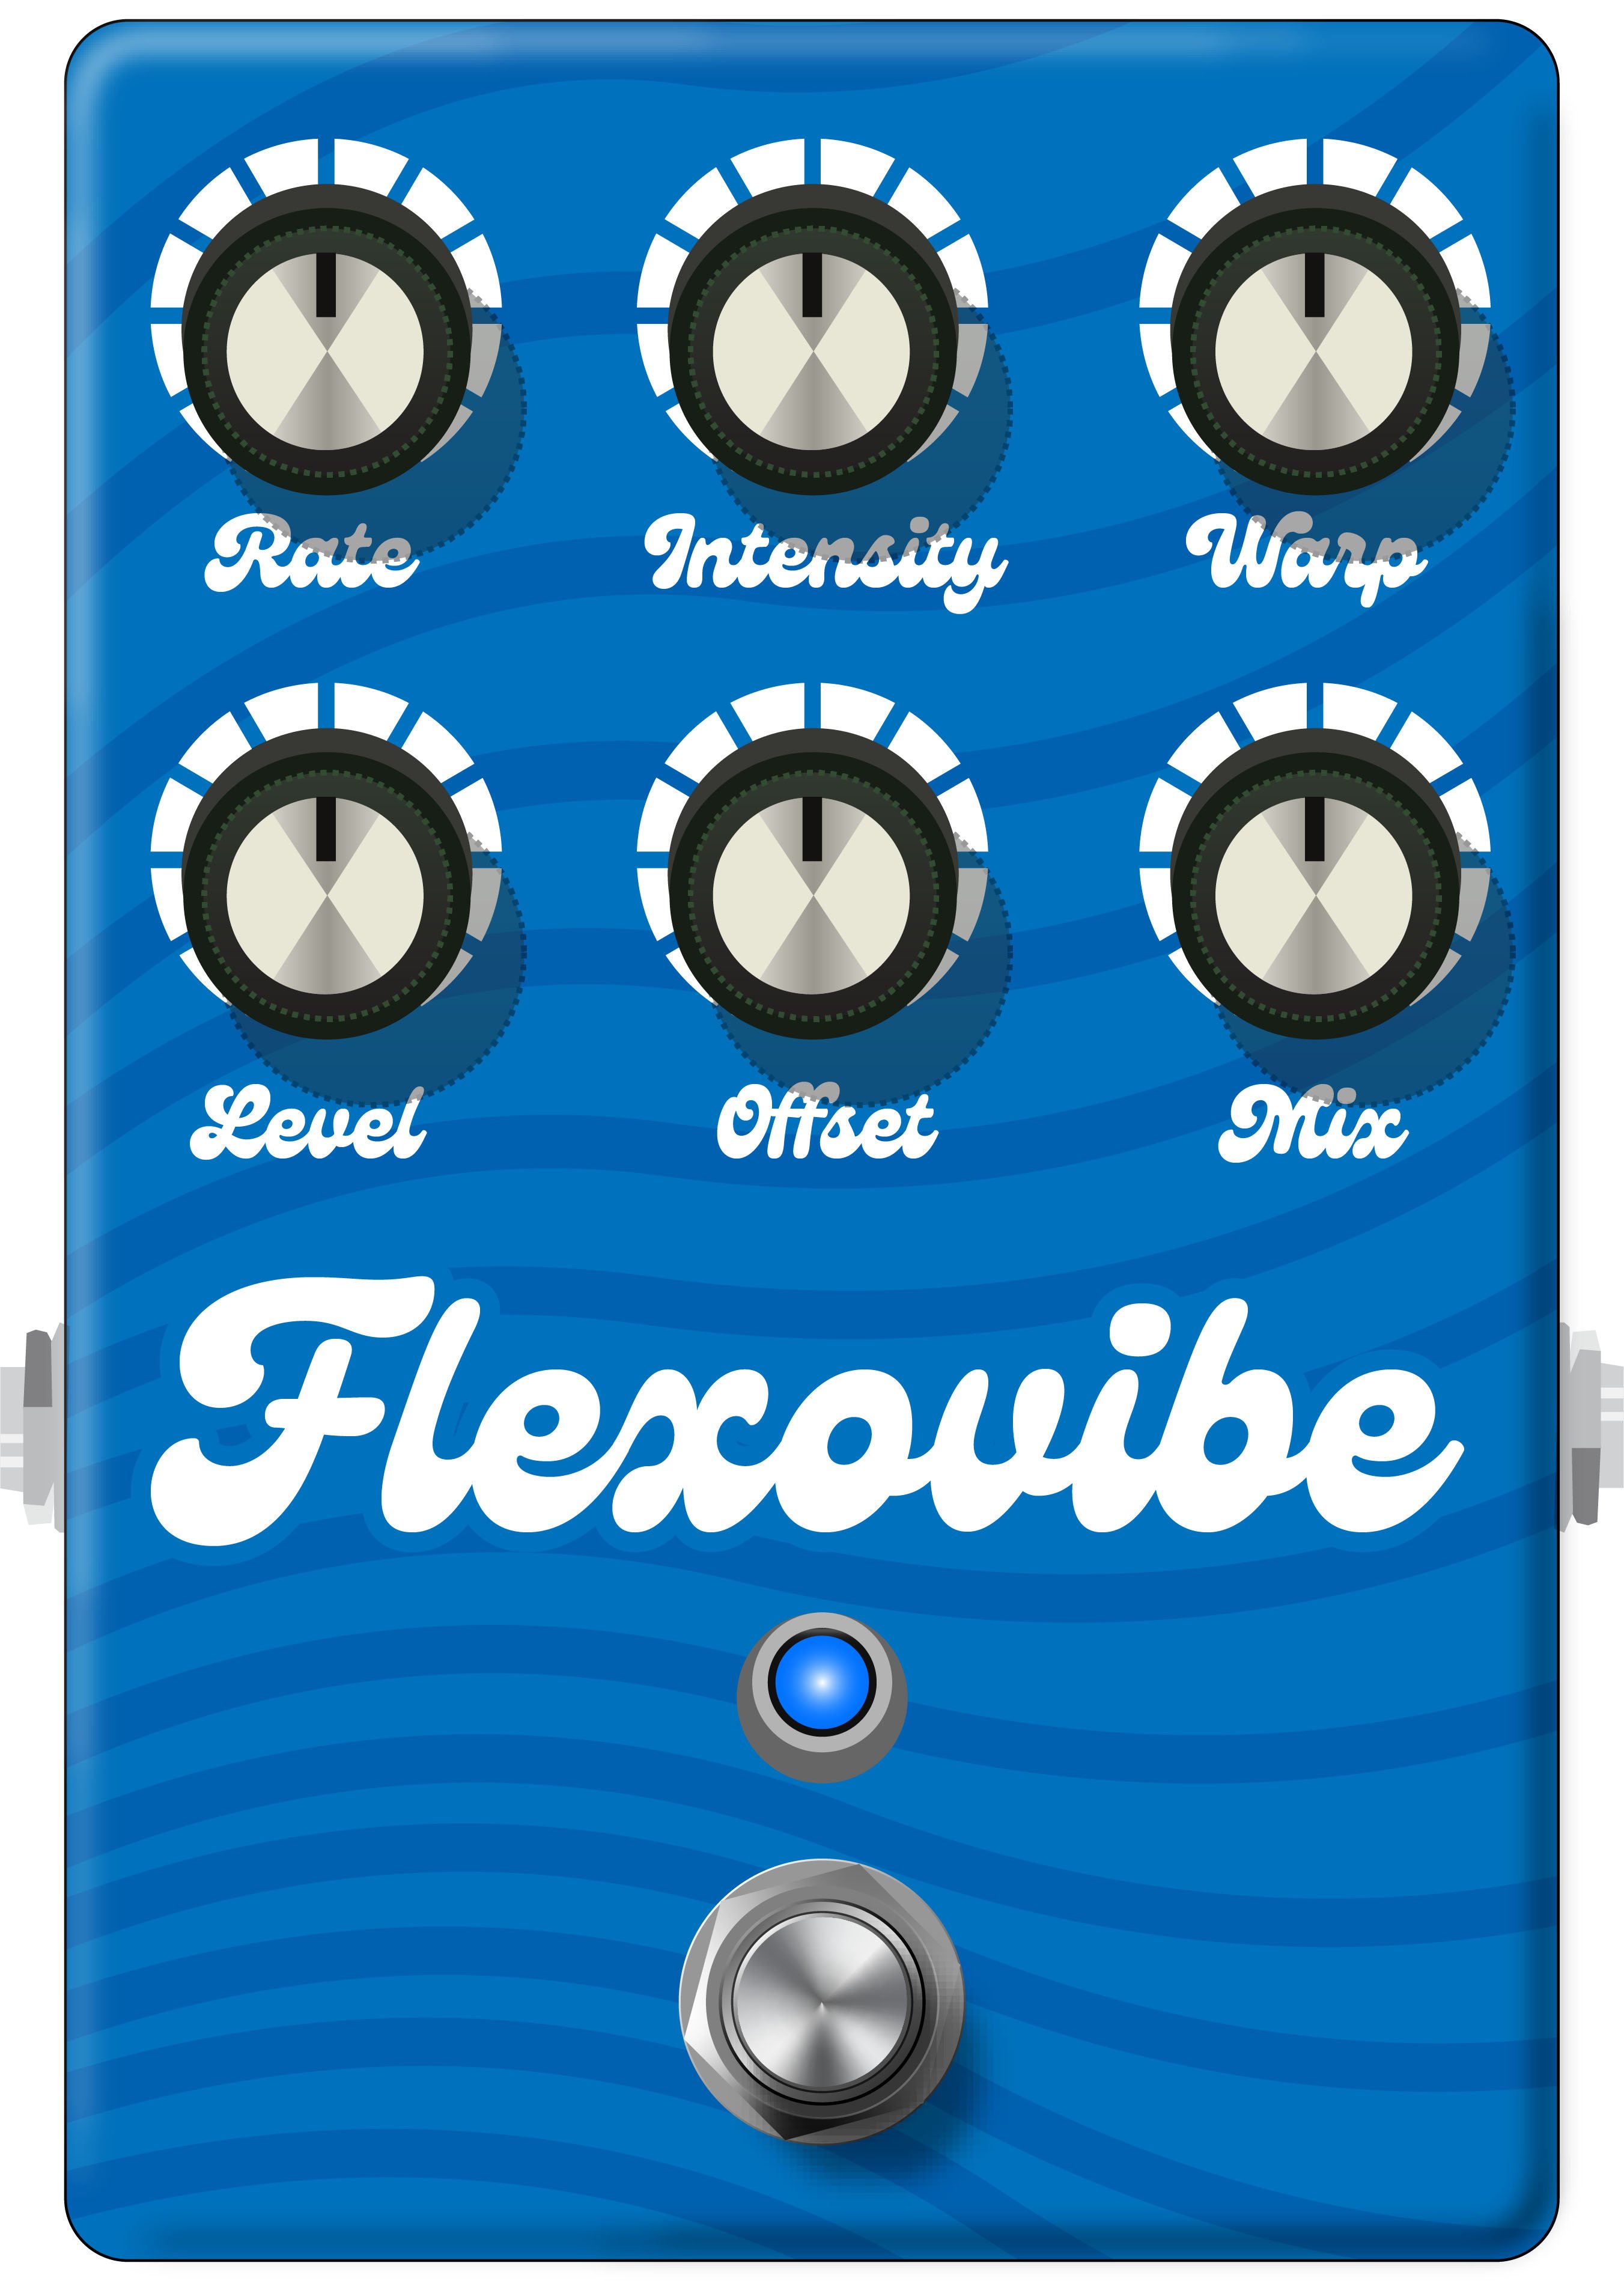
- Rate—Adjusts the speed of the chorus’ low-frequency oscillator (LFO) from slow to fast
- Intensity—Adjusts the amplitude of the modulation, from mild to deep
- Warp—Controls the shape of the LFO. At 0.0, the LFO waveform is a triangle; at +1.0 and -1.0, the waveforms exhibit more chaos, or "warping"
- Spread—Controls the phase offset between the two LFOs. At 0.0, no offset is heard; at 10.0, the two LFOs are separated by 180°. Generally sounds best somewhere in the middle
- Mix—Controls the wet/dry mix of the FlexoVibe effect. When set to 0%, no effect is heard; when set to 100%, no dry signal is heard
- Level—Controls the overall output level of the block
Modulation > 4-Voice Chorus, Line 6 Original

- Rate—Adjusts the speed of the chorus’ low-frequency oscillator (LFO) from slow to fast
- Depth—Adjusts the amplitude of the modulation, from mild to deep
- Voices—Determines the number of voices in the chorus (2, 3, or 4)
- Low Cut—Applies a low cut (high pass) filter to the chorus, letting you remove the effected signal below a certain frequency
- HighShelf—Applies a high cut (low pass) filter to the fills, letting you remove the effected signal above a certain frequency
- Mix—Controls the wet/dry mix of the chorus. When set to 0%, no chorus is heard; when set to 100%, no dry signal is heard
- Level—Controls the overall output level of the block
Modulation > Triple Rotary, inspired by* the Yamaha® RA-200 rotary speaker (famously implemented on "The Wall").

"The Line 6 Triple Rotary is inspired by the Yamaha RA-200 Rotary speaker. The original RA-200 was a combo solid state amplifier designed to be used with organs much like other rotary speakers. However; the RA-200 unit was unique compared to the traditional rotary speakers, which typically have rotating horns and a rotating drum over a woofer, the Yamaha designs had midrange speakers which rotated vertically on top of a traditional non-rotating speaker cabinet.
"To make the model more versatile, we made this effect to behave more as a stereo effect rather than modeling the whole cabinet, and suggest using the effect in combination with a cabinet model if recording direct or listening through FRFR systems."
—Sam Hwang, Sound Designer
- Speed—Sets whether the speaker reflects the Slow Speed or Fast Speed
- Slow Speed—Sets the rate for the Slow Speed. Press the knob to toggle between a static rate (0.0 ~ 10.0) or note values for syncing with Tap Tempo and incoming MIDI clock
- Fast Speed—Sets the rate for the Fast Speed. Press the knob to toggle between a static rate (0.0 ~ 10.0) or note values for syncing with Tap Tempo and incoming MIDI clock
- Ramp Time—Adjusts how fast switching from Slow Speed to Fast Speed and back takes place
- Mix—Controls the wet/dry mix of the rotary effect. When set to 0%, no rotary effect is heard; when set to 100%, no dry signal is heard
- Level—Controls the overall output level of the block
- Drive—Controls the amount of drive into the speaker's power amp
- Headroom—Adds up to 12.0dB of additional headroom
- Low Cut—Applies a low cut (high pass) filter to the speakers, letting you remove the effected signal below a certain frequency
- High Cut—Applies a high cut (low pass) filter to the speakers, letting you remove the effected signal above a certain frequency
- Wobble—Models how evenly the rotating speaker and its ballast weight are balanced about the axis. At zero, the speaker and ballast are perfectly balanced, and as the wobble control is increased the rotation of the speakers becomes more eccentric.
- Separation—The separation of the stereo field. Practically, this simulates moving the two listening points further apart as the separation knob is increased
- Rotor Drift—Adjusts how close the three rotor motors are in sync with each other in speed. As each of the rotors were belt driven, there are often some differences in belt or motor wear, and it creates some subtle modulation effects between the three rotors
- Rotor 2 Lvl—Sets the individual volume of the second rotor
- Rotor 3 Lvl—Sets the individual volume of the third rotor
Reverb > Dynamic Ambience, Line 6 Original ambience reverb. At less extreme settings can be used to "open up" the sound of your amp without applying a notable reverb effect. Also utilizes less DSP than other Dynamic reverbs.
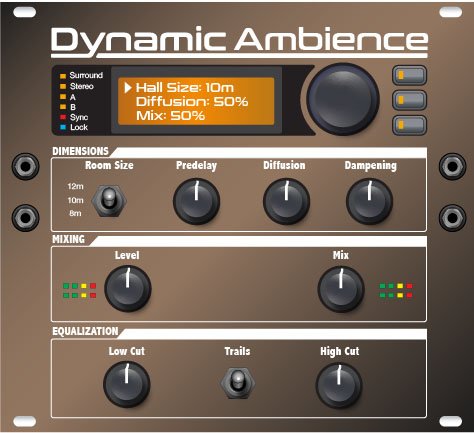
- Room Size—Sets the size of the hall (8, 10, or 12 meters)
- Predelay—Determines the amount of delay heard before the signal enters the hall. Can sometimes result in more definition between the dry and effected signals
- Damping—Determines the frequency above which the reverb will be absorbed. For example, if your hall is full of people wearing fake ocelot jumpsuits, more high frequencies would be absorbed than if the room were empty
- Diffusion—Sets the amount of smearing between discrete echoes, sometimes resulting in a softer effected signal
- Shape—Controls the blend of the Early and Late reflections. Turning the knob clockwise adds more Late reflections; turning the knob counterclockwise adds more Early reflections. Press the knob to reset to "Even"
- Mix—Controls the wet/dry mix of the reverb. When set to 0%, no reverb is heard; when set to 100%, no dry signal is heard
- Low Cut—Applies a low cut (or high pass) filter to the reverb, letting you remove the effected signal below a certain frequency
- High Cut—Applies a high cut (or low pass) filter to the reverb, letting you remove the effected signal above a certain frequency
- Level—Controls the overall output level of the block
- Trails—When on, reverb decay continues to ring out after the block is bypassed
Pitch/Synth > Boctaver, based on* the BOSS® OC-2 Octaver
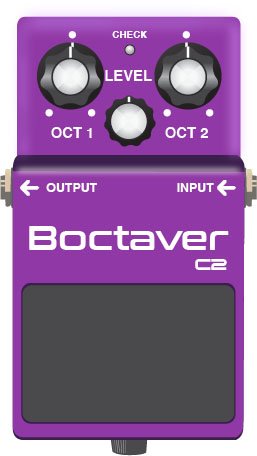
- –1 Oct—Sets the level of the signal one octave down
- –2 Oct—Sets the level of the signal two octaves down
- Dry Level—Sets the level of the dry (unaffected) signal
*NOTE: All product names used in this document are trademarks of their respective owners and neither Yamaha Guitar Group nor Line 6 are associated or affiliated with them. These trademarks appear solely to identify products whose tones and sounds were studied by Line 6 during sound model development.
Bug Fixes in 2.0
- Pitch/Synth > Pitch Wham would load active instead of bypassed–FIXED
- Controller Learn would remain active after clearing a block in HX Edit—FIXED
- POD Go Edit only: In rare cases, the parameter Max slider could jump to minimum and become unresponsive—FIXED
- Other minor fixes and improvements
Known Issues in 2.0
- After importing a .wav file into the current empty slot of a Cab > IR block, all audio output can be muted
- If Modulation > ADT is loaded via the Lower Knob or POD Go Edit, a pitch ramp sound may be heard. This does not happen when engaging ADT via footswitch